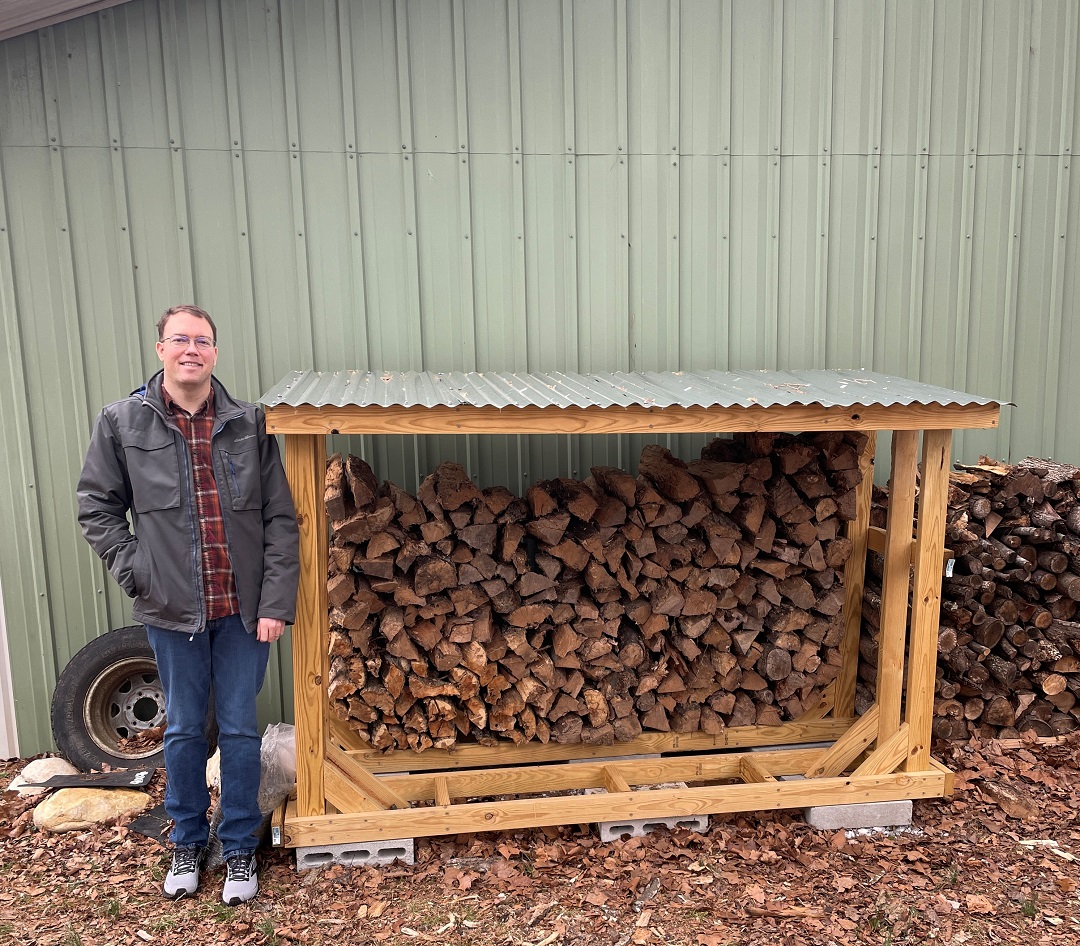
Build a Strong Firewood Rack from Pallets: DIY Tips and Tricks
Hey there, fellow firewood fanatics! Let's face it, storing firewood isn't just about keeping it dry, it's about having a dedicated space that looks good too. And who better to help us than our trusty friend, the humble pallet?
Let's be real, pallets are everywhere. Construction sites, recycling centers, behind businesses... they're practically begging to be repurposed into something awesome. And a sturdy firewood rack? That's just the beginning! Today, we're going to unleash our inner DIY guru and transform those old pallets into a functional, stylish addition to our backyard or garage.
Gathering Your Gear
Before we dive into the building fun, let's gather our supplies. You'll need:
- Two sturdy pallets (The sturdier, the better! Look for pallets with solid wood, not flimsy ones)
- Measuring tape (To ensure everything fits perfectly)
- Circular saw (For making precise cuts)
- Safety glasses (Keep those peepers safe)
- Screwdriver (For securing the wood)
- Wood screws (Long enough to go through both pallet layers)
- Wood glue (For extra strength)
- Sandpaper (To smooth out any rough edges)
- Paint or stain (Optional, for a touch of color or a natural finish)
Step by Step: Crafting Your Firewood Fortress
Step 1: Prep Those Pallets
Let's get those pallets ready for their transformation. First things first, give them a good cleaning. Remove any loose nails, debris, or stubborn stains. Don't be afraid to get your hands dirty! Once they're sparkling clean, lay them flat on the ground. Now, it's time for a quick safety check. Are there any loose boards or cracks that might cause trouble? Go ahead and secure those with some screws or replace them with sturdier options.
Step 2: Measuring for Success
This is where your measuring tape comes in handy. Grab one of your pallets and decide how tall you want your firewood rack to be. You'll be cutting the second pallet to fit the height you choose. Measure from the bottom of the first pallet up to the desired height and mark it with a pencil or marker. Now, grab your trusty circular saw and make your cuts carefully! Safety glasses on, folks. Always remember to cut with the wood grain, not against it.
Step 3: Creating the Base
Alright, let's build our foundation. Place the first pallet flat on the ground, this will be our base. Now, take the second pallet (the one you just cut) and position it on top of the base pallet, making sure the top edge of the cut pallet lines up with the bottom of the base pallet. This will create the desired height for your rack. Secure these two pallets together with screws through the sides, aiming for the center of each board to ensure maximum strength. Don't forget to pre-drill pilot holes to avoid splitting the wood.
Step 4: Building the Shelves
Now for the fun part! We're going to create those awesome shelves for all your firewood. Take a look at the pallets you have. You'll notice that they have gaps between the slats. We're going to use these gaps to build our shelves. Measure the distance between the slats on the top pallet and cut some boards to fit those spaces. It's best to use sturdy boards that are about 2 inches thick and have the same width as the pallet slats. You'll want to cut a few boards to fit the gaps, creating a shelf-like structure. Once you have your boards cut, secure them to the gaps between the slats of the top pallet using wood glue and screws.
Step 5: Sanding and Finishing Touches
Your firewood rack is starting to take shape! Now, give it a good sanding with medium-grit sandpaper. This will smooth out any rough edges and give it a nice, clean look. If you're feeling creative, go ahead and add a splash of color with some paint or stain. Choose a color that compliments your outdoor space. If you want a natural finish, let the wood show through.
Bonus Tips & Tricks: Let's Take This to the Next Level
Now that you've built your firewood rack, why not add some extra flair? Here are a few tips to make it stand out:
- Adding Wheels: Give your rack some mobility! Attach some casters to the base for easy movement around the yard.
- Decorative Touches: Let your personality shine through. Add a rustic touch with some decorative metal brackets or hooks. Or, create a fun centerpiece by using some colorful weather-resistant paint.
- Shelving Extravaganza: For even more storage, consider adding an extra shelf at the top of the rack. You can use the same method as before and cut boards to fit between the existing slats.
- Extra Protection: If your firewood rack is going to be outside, a coat of weather-resistant sealer will help protect it from the elements and keep it looking its best for years to come.
Time to Fire Up the Fun!
Congratulations, you've officially created a fantastic firewood rack that is both functional and eye-catching! Now, get ready to cozy up by the fireplace, knowing your firewood is safely stored and organized. And hey, if you're feeling extra ambitious, use the same techniques to build a pallet bench or even a small garden table. The possibilities are endless! Happy building!
0 komentar:
Posting Komentar
Catatan: Hanya anggota dari blog ini yang dapat mengirim komentar.