Building a Squirrel Box: A Guide to Durability
Hey there, fellow nature enthusiast! Ever wanted to have a closer look at the antics of squirrels in your backyard? Building a squirrel box can be a fun and rewarding project, allowing you to attract these curious creatures to your space. But building a squirrel box that stands the test of time requires more than just hammering together some wood. We'll dive into the essential plans for constructing a durable squirrel box that will provide a safe and comfy home for your furry neighbors for years to come.
Choosing the Right Materials: The Foundation of Durability
Let's start with the building blocks of your squirrel box - the materials. You want to choose wood that's resistant to rot, decay, and the elements. Here's a breakdown of your options:
The Classic Choice: Cedar and Redwood
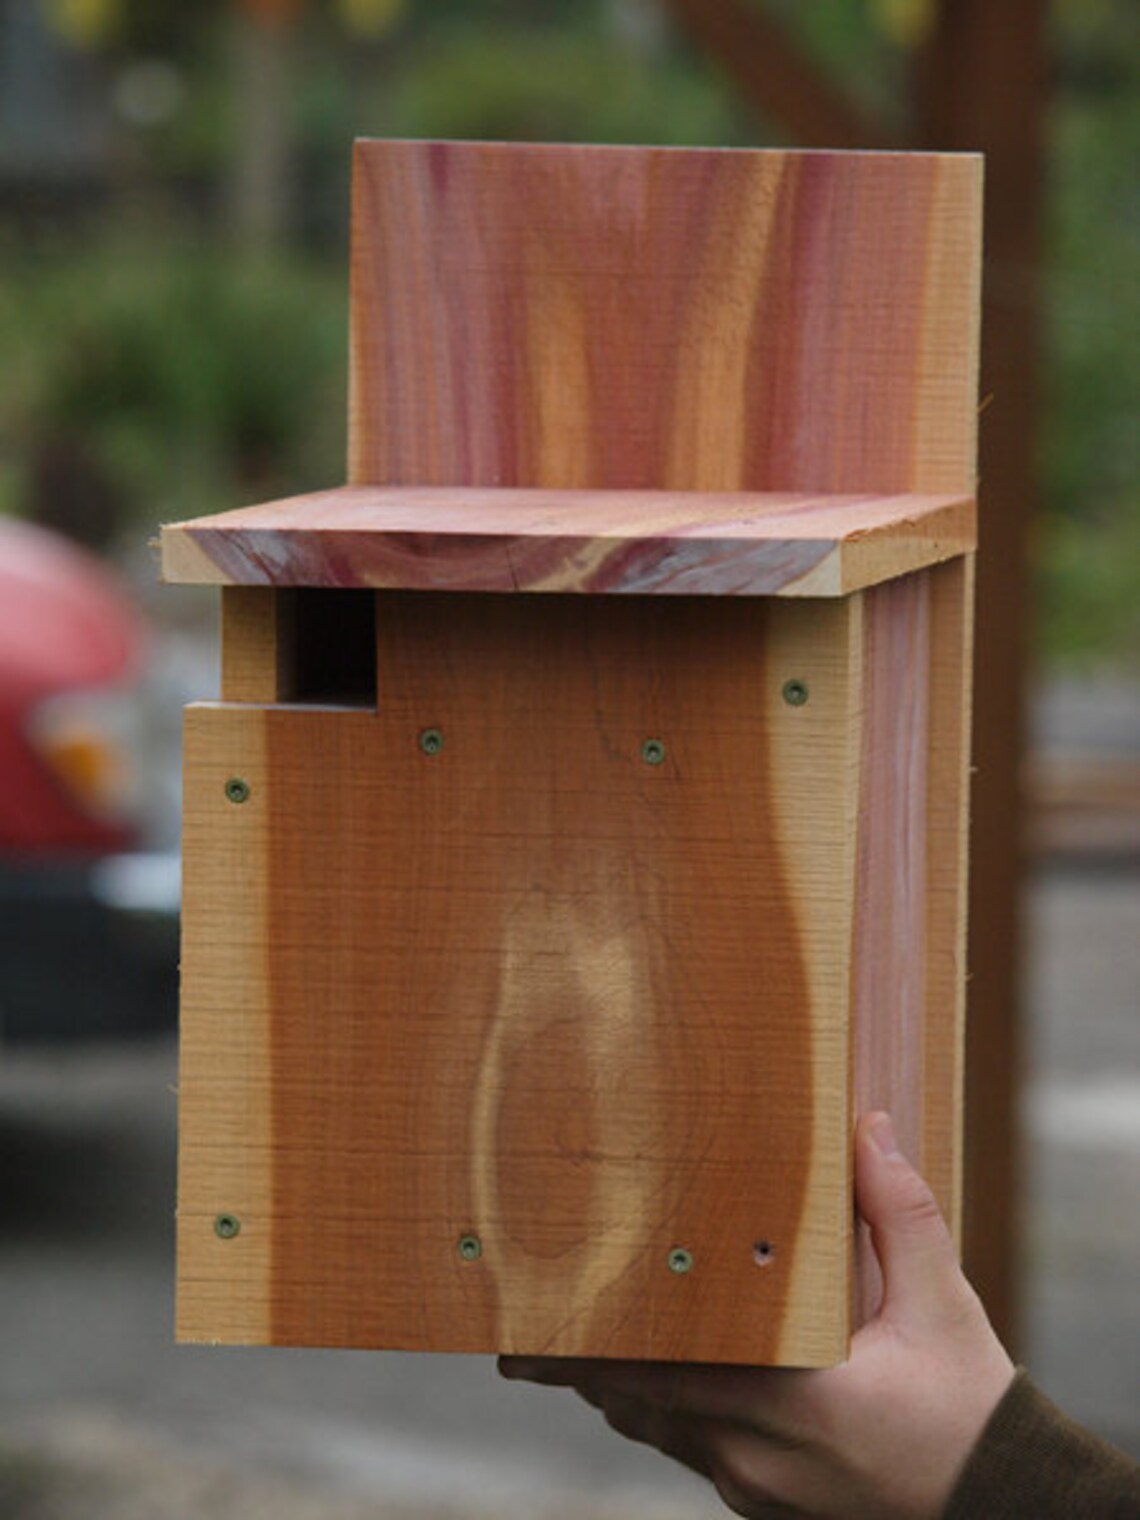
Cedar and Redwood are renowned for their natural resistance to rot and insects. They also possess a lovely natural aroma that can deter pests. These are excellent choices for the primary structure of your squirrel box.
The Durable Alternative: Pressure-Treated Lumber
Pressure-treated lumber is another reliable option. It's treated with chemicals to resist decay, making it a good choice for the bottom and the floor of the box where moisture is more likely to build up. However, keep in mind that pressure-treated lumber can contain chemicals that might not be ideal for sensitive animals. So, if you're concerned about the chemicals, opt for cedar or redwood for those areas.
Putting it Together: Fasteners and Glue
For joining the pieces of your squirrel box, galvanized screws or stainless steel nails are your best bet. These materials resist rust and corrosion, ensuring your structure remains strong and secure over time. Adding wood glue to the joints can further enhance the box's durability and create a tight, weatherproof seal.
Constructing the Box: Step by Step
Now, let's get down to the nitty-gritty of building the squirrel box. We'll break it down into simple steps, making it accessible for everyone, regardless of your carpentry skills.
Step 1: Cut the Pieces
Using your chosen wood, cut the following pieces according to your desired dimensions (adjust these to accommodate your squirrel box design):
- Front panel: 1 piece, 12 inches wide x 10 inches tall
- Back panel: 1 piece, 12 inches wide x 10 inches tall
- Side panels: 2 pieces, 10 inches wide x 10 inches tall
- Bottom: 1 piece, 12 inches wide x 10 inches tall
- Roof: 1 piece, 14 inches wide x 12 inches tall (this overhang will help protect the entrance)
- Entrance: 1 piece, 4 inches wide x 5 inches tall (make sure the entrance is slightly angled upward to prevent water buildup)
Step 2: Assemble the Walls
Start by attaching the front and back panels to the side panels using screws or nails. Make sure the joints are tight and even. Add wood glue for extra reinforcement.
Step 3: Attach the Bottom
Secure the bottom panel to the base of the assembled walls, ensuring it fits snugly. Use screws or nails and wood glue for a sturdy connection.
Step 4: Create the Entrance
Cut out the entrance hole in the front panel, making sure the top edge slopes upward. You can use a jigsaw or a drill and a chisel for this.
Step 5: Attach the Roof
The roof should overhang the walls slightly to protect the entrance from rain. To create the overhang, attach the roof to the back panel and the sides of the box using screws or nails. You can create a hinged roof for easy access to clean the box. Use hinges on the front panel for easy cleaning access.
Step 6: Add Finishing Touches
Sand the box to create a smooth finish and apply a sealant or paint to protect the wood from the elements. If you're using pressure-treated lumber, be sure to choose a sealant or paint specifically formulated for this type of wood.
Location, Location, Location: Where to Place Your Squirrel Box
Now that your squirrel box is ready, let's find the perfect spot for it in your yard.
- Choose a shady location: Squirrels prefer a bit of shade, especially during hot summer months. This will help keep the box cool and comfortable.
- Provide shelter: Position the box against a tree trunk or a wall for extra protection from wind and rain.
- Think about height: Mount the box 8-12 feet off the ground. This will discourage predators and make it easier for the squirrels to access their home.
- Keep it away from foot traffic: Choose a spot where the box won't be disturbed by people or pets.
Making it Homey: Interior Touches
To encourage your furry friends to make your squirrel box their new abode, here are some interior design tips:
- Add nesting material: Line the bottom of the box with a layer of shredded paper, soft cloth scraps, or even a few sprigs of dry leaves. This will make the box feel more inviting and cozy.
- Leave an access opening: Ensure there's an opening at the back or top of the box for easy access to clean the box and replenish nesting material as needed.
Maintaining Your Squirrel Box: A Little TLC Goes a Long Way
Once you've set up your squirrel box, it's crucial to maintain it to ensure it stays safe and inviting for your furry friends.
- Clean it regularly: Check the box every few months, especially during spring and fall, to remove any debris, old nesting material, or signs of pests.
- Check for damage: Inspect the box for signs of rot, wear, or damage. If you see any problems, make repairs promptly.
- Keep it free of predators: Keep an eye out for predators like cats or raccoons. If you see any signs of them trying to access the box, consider installing a protective barrier or relocating the box.
And there you have it! By following these tips, you'll be well on your way to building a durable squirrel box that will bring joy to both you and your furry backyard companions. Happy building!
0 komentar:
Posting Komentar
Catatan: Hanya anggota dari blog ini yang dapat mengirim komentar.