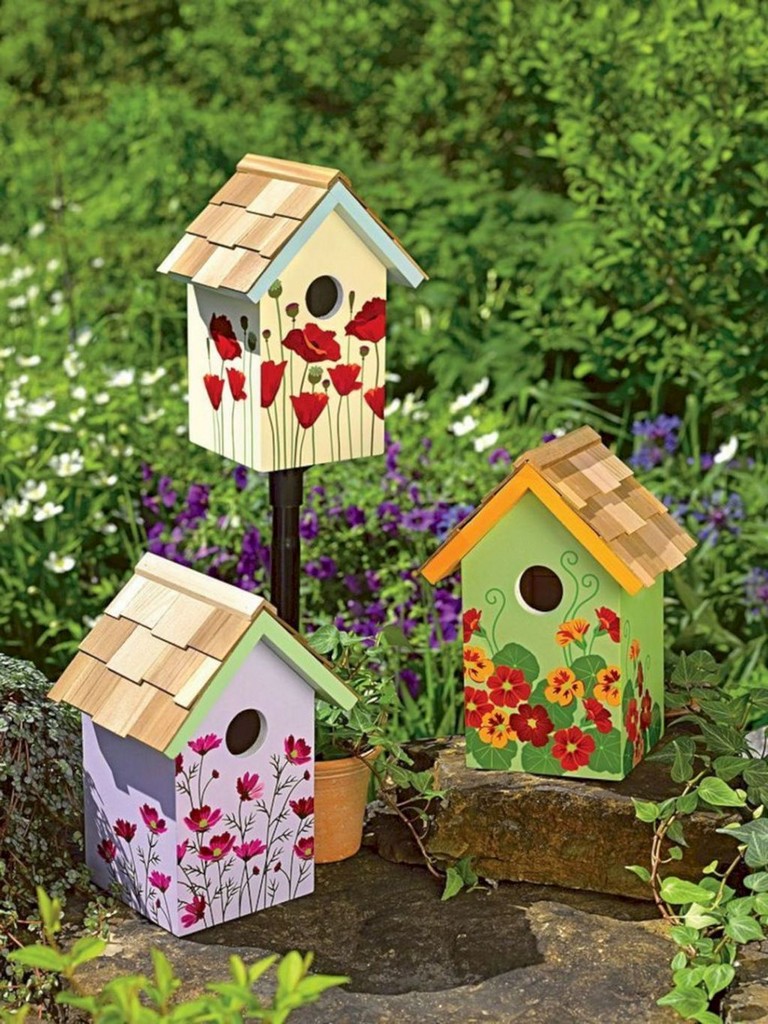
Building a Birdhouse from Scratch: A Fun and Rewarding Project
Hey there, bird lovers! Are you looking for a fun and rewarding DIY project that will bring a touch of nature to your backyard? Building a birdhouse from scratch is a fantastic way to attract feathered friends and enjoy their cheerful presence. It's not as complicated as you might think, and with a little patience and creativity, you can create a beautiful and functional home for your winged neighbors. Let's get started on this exciting journey!
Gathering Your Materials
Before diving into the construction, make sure you have all the necessary materials ready. You can find everything at your local hardware store or online. Here's a list of what you'll need:
- Wood: Choose weather-resistant wood like cedar, redwood, or pressure-treated pine. A 1x6 or 1x8 board will work well.
- Screws: Use 1 1/4-inch or 1 1/2-inch wood screws for securing the pieces.
- Saw: A handsaw or a circular saw will do the trick. If you're new to DIY, a handsaw is a good option for a beginner.
- Drill: A cordless drill with a drill bit that matches the size of your screws makes things much easier.
- Measuring Tape: Essential for accurate cuts.
- Pencil: For marking your cuts.
- Sandpaper: To smooth out any rough edges and give your birdhouse a polished look.
- Wood Glue: For extra strength, especially around the corners.
- Paint or Stain: Optional, but it can help protect the wood and add a touch of color to your creation.
- Birdhouse Roof Shingles (optional): For a traditional look, you can use small wood shingles to create a roof.
- Perch: A small branch or dowel for birds to land on. You can also use a piece of wood about 1 1/2 inches long.
- Entrance Hole: The size of the entrance hole depends on the type of bird you want to attract. Here's a quick guide:
Entrance Hole Size Guide
- Chickadees, Nuthatches, and Downy Woodpeckers: 1 1/8 inches in diameter
- Wrens: 1 1/4 inches in diameter
- Bluebirds: 1 1/2 inches in diameter
- Titmice: 1 1/2 inches in diameter
Now that you have your materials, let's get into the fun part - building!
Building Your Birdhouse
Follow these steps for a basic birdhouse design:
Step 1: Cutting the Pieces
Using your saw and measuring tape, cut the following pieces from your wood:
- Front Panel: 6 inches wide x 8 inches tall. Cut out the entrance hole at the bottom center of this piece.
- Back Panel: 6 inches wide x 8 inches tall
- Two Side Panels: 6 inches wide x 6 inches tall
- Bottom Panel: 6 inches wide x 6 inches tall
- Roof: Cut two pieces 7 inches wide x 8 inches tall (These will be sloped for the roof).
Step 2: Assembling the Base
Start by assembling the base of the birdhouse:
- Attach the Side Panels: Glue and screw the side panels to the bottom panel, making sure the edges are flush.
- Attach the Back Panel: Glue and screw the back panel to the sides. Make sure the panels are lined up correctly before securing them.
- Attach the Front Panel: Glue and screw the front panel to the side and bottom panels, leaving the entrance hole exposed.
Step 3: Building the Roof
Now let's create the roof:
- Attach the Roof Pieces: Attach the two roof pieces to the top of the birdhouse, overlapping the top edges of the side panels. Use glue and screws to secure them. The slope of the roof should be about 1 inch on each side. You can adjust the slope for a steeper roof if you like.
- Add Roof Shingles (optional): If you want a more traditional look, you can use wood shingles to cover the roof. Attach the shingles with glue and small nails.
Step 4: Adding the Perch
Almost there! Now, let's add the finishing touches:
- Attach the Perch: Drill a small hole near the entrance hole, slightly below the bottom of the roof. Insert the perch into the hole and secure it with glue or wood screws.
Step 5: Finishing Touches
To protect your birdhouse and make it look great, consider these final steps:
- Sanding: Smooth out any rough edges and surfaces using sandpaper. Sanding also helps with paint or stain application.
- Painting or Staining: Apply a coat of paint or stain to your birdhouse for protection and color. Choose colors that complement your backyard and blend in with the surrounding environment.
Placing Your Birdhouse
Congratulations! You've successfully built your own birdhouse. Now it's time to find the perfect spot for your feathered friends. Here are a few tips for placement:
- Location: Choose a spot that offers protection from harsh weather elements like wind and rain. A tree or a sheltered area is ideal.
- Height: Mount the birdhouse at least 5 feet off the ground, but no more than 15 feet. This helps prevent predators from easily reaching the nest.
- Direction: Orient the entrance hole away from the prevailing wind to prevent rain or snow from blowing directly into the nest.
- Safety: Ensure that the birdhouse is securely mounted and won't fall down. Choose a sturdy mounting point that can support its weight.
Enjoy Your New Backyard Companions
Now, all you have to do is sit back, relax, and enjoy watching your new feathered neighbors move in. Providing a safe and welcoming home for birds is a rewarding experience that connects you with nature and brings a sense of tranquility to your backyard. Happy birding!
0 komentar:
Posting Komentar
Catatan: Hanya anggota dari blog ini yang dapat mengirim komentar.